
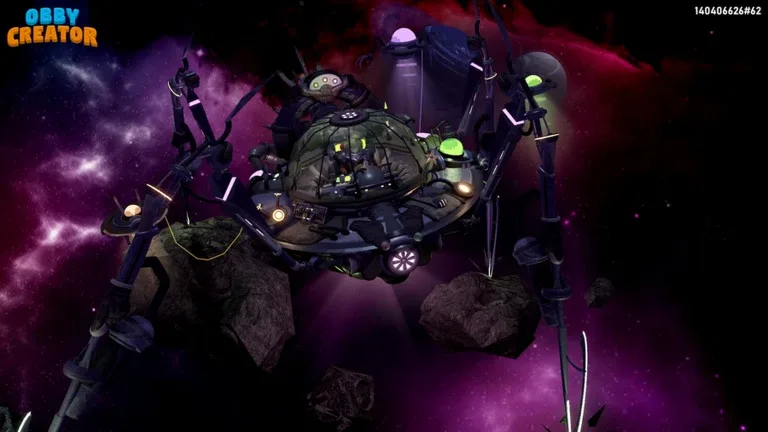
Creative Inspiration for Your Obby Creator Maps
Building a compelling obstacle course in Obby Creator requires more than just placing blocks in a line. To keep players engaged, you need to incorporate dynamic obstacles, clever puzzles, and unique design elements. Whether you are a beginner looking to understand the basics or a seasoned builder aiming to master complex logic, these ideas will help you push the boundaries of what your map can offer.
Mastering Button and Trigger Systems
One of the most effective ways to add depth to your level is through the interactive button system. According to player feedback, these mechanics transform static maps into living, breathing challenges.
- Place a Button Block: Set your desired button type (standard or push button) in the environment.
- Assign a Unique ID: Click on the target object (like a door or platform) and navigate to the "Behavior" tab to assign it an ID number.
- Link the Button: Select your button, go to its "Behavior" settings, and input the corresponding "Button Block Id."
- Test the Interaction: Ensure the trigger (stepping on or pushing an object onto the button) correctly activates the linked part.
By using this logic, you can create "Stop and Start" obstacles. For instance, you could have lava that only appears or disappears when a player hits a specific switch, forcing them to time their jumps perfectly.
Innovative Design and Object Variety
While standard blocks are the foundation of any obby, relying solely on them can make your map feel repetitive. To create a professional look, you should diversify your object types.
Tip
Use the properties tab to experiment with spheres and wedges rather than just cubes. These shapes are excellent for creating organic-looking platforms or complex jump paths that are harder to navigate than simple rectangular surfaces.
Community members suggest using the "Ice Block" feature to introduce slippery terrain. Combining ice with moving parts or conveyors creates unpredictable movement patterns, which is a great way to increase the difficulty level for experienced players.
Enhancing UI and Player Interaction
For builders looking to take their projects to the next level, GUI (Graphical User Interface) elements offer a way to provide instructions or modify gameplay parameters.
Button GUI
Useful for creating on-screen controls that players can click to trigger events, such as changing their speed or health, or spawning additional UI elements.
Text GUI
Perfect for storytelling or providing hints. You can customize these with multiple lines of text to guide players through complex sections of your obby.
If you are comfortable with more advanced tools, consider how these interfaces can change the way players interact with your world. A well-placed GUI button can act as a checkpoint marker or a way for players to toggle between different game modes if your map supports them.
Optimizing Your Build Workflow
Efficiency is key when building large-scale maps. Using the right tools will save you hours of manual labor and allow you to focus on the creative aspects of your design.
By mastering these workflow tips, you can avoid common pitfalls like misaligned parts or broken logic links. Always remember to test your map frequently—what looks good from the editor's perspective might be impossible to clear for the average player.
Frequently Asked Questions
How do I make my moving platforms more interesting?
Instead of simple back-and-forth movement, try using the button-activated system. By linking a moving platform to a button, you can create "time-sensitive" jumps where the player must hit a switch to move the platform into position before it resets.
Can I customize the speed of my obstacles?
Yes, most moving parts and platforms in Obby Creator have adjustable properties. Always check the "Behavior" or "Properties" tab of an object to see if you can modify its speed, frequency, or rotation degrees.
What is the best way to add difficulty?
Difficulty should be added in layers. Start with simple jumps, then introduce timing elements like disappearing platforms or moving lava. Finally, combine these with slippery ice blocks or gravity-altering zones to truly test the player's skill.